
First, get all your fabric pieces together.

Pin together the front and back leg pieces right sides together at the inseam.

Sew the inseam and zig-zag or serge the edges together.

Put together your two pieces now matching up the pieces right sides together front to front and back to back. Pin the crotch.

Sew the crotch half circle and zig-zag or serge the edges.

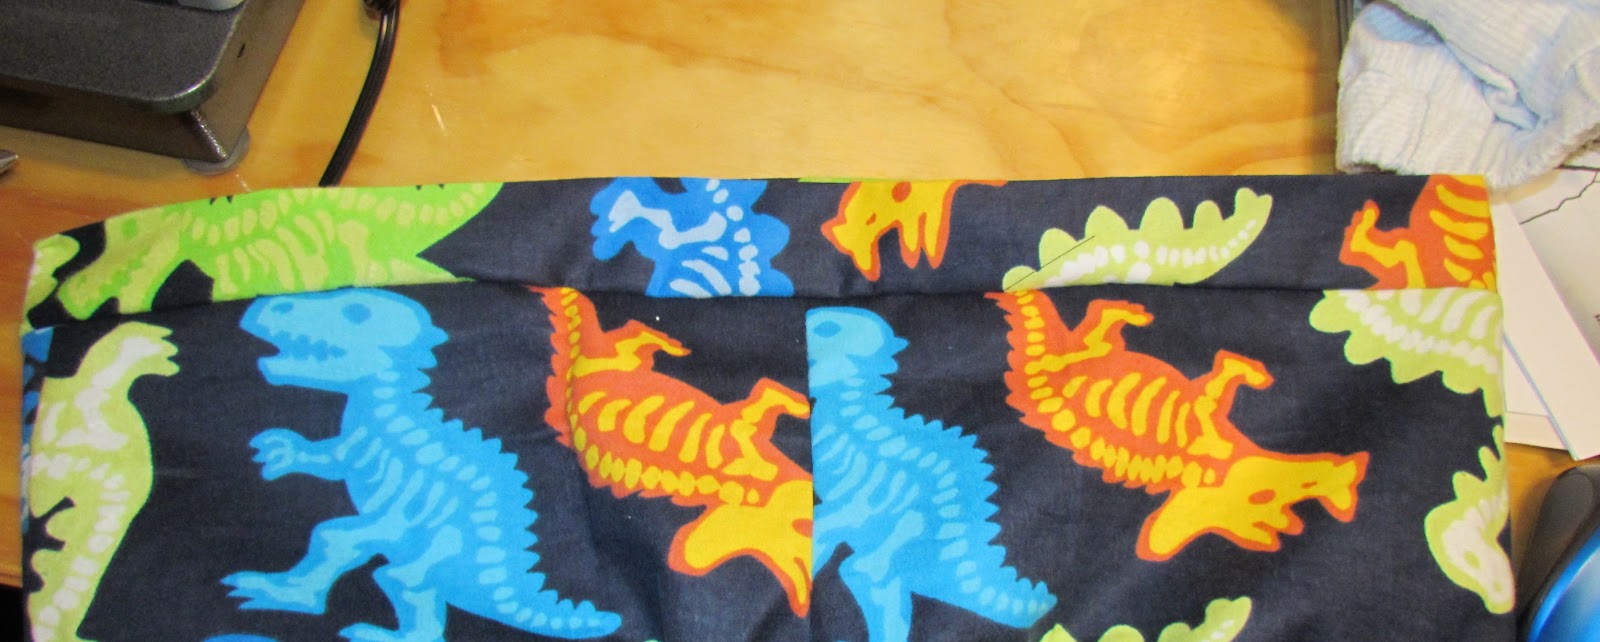
Now it gets a little trickier. You want to match up the front to back pieces so you have 2 legs. You have 4 pocket pieces. Pin one to the left front, one to the right front, one to the left back, and one to the right back.

Sew the pockets to the pieces with a 3/8" seam and press the pockets out. It should look like this with the right sides together.

Sew the curve of the pockets, but not the top. I like to use a smaller seam allowance so the pockets aren't as bulky.

Sew both front and back pieces together a little over an inch from the top and bottom of the pocket. This will be the opening for the pocket later.

Continue sewing down to sew the outer seam.

Zig-zag or serge the outside of the pocket seam and the outer leg seam.

Now for the casing. Its a little like the pockets, in the fact that you leave an opening in it. With right sides together, sew the ends of the casing together leaving an opening for the elastic later.

Press the seam open.

Fold in half wrong sides together (you should see the right side of the fabric) and press.

Turn pants right sides out and pin the casing to the waistband, with the opening you created matching up with the back crotch seam. You are pinning raw edges together. The fold should be at the bottom.

Fold the casing up and you have your waistband.
Almost done, its time to hem it. Fold and press the bottom 1/4"

Fold over and press again.

Sew close to the edge of the fold to make your hem.

Now, all that's left is to insert the elastic and you are done!
No comments:
Post a Comment